Pretty Provisions for the Home: Pumpkins

Hello there! Here is a new Pretty Provisions for the Home item. They are fabric covered pumpkins! I love the new Spice Cake Suite, the whole line is just perfect for fall decorating and papercrafting. So when I was thinking and looking about all of the things I could do with the fabric, I found some fabric covered pumpkins on tatertotsandjello.com and thought right away that would be perfect to do with our wonderful fabric. So would you like to know how to do them? Sure, of course you would, so I took pictures of each step to show you how it is done.

This is what they look like before, mine are all palm size and came from a craft store. The back two have the stems removed already, make sure you get the kind with stems that you can pull out. Pull out the stems and set the stems aside.
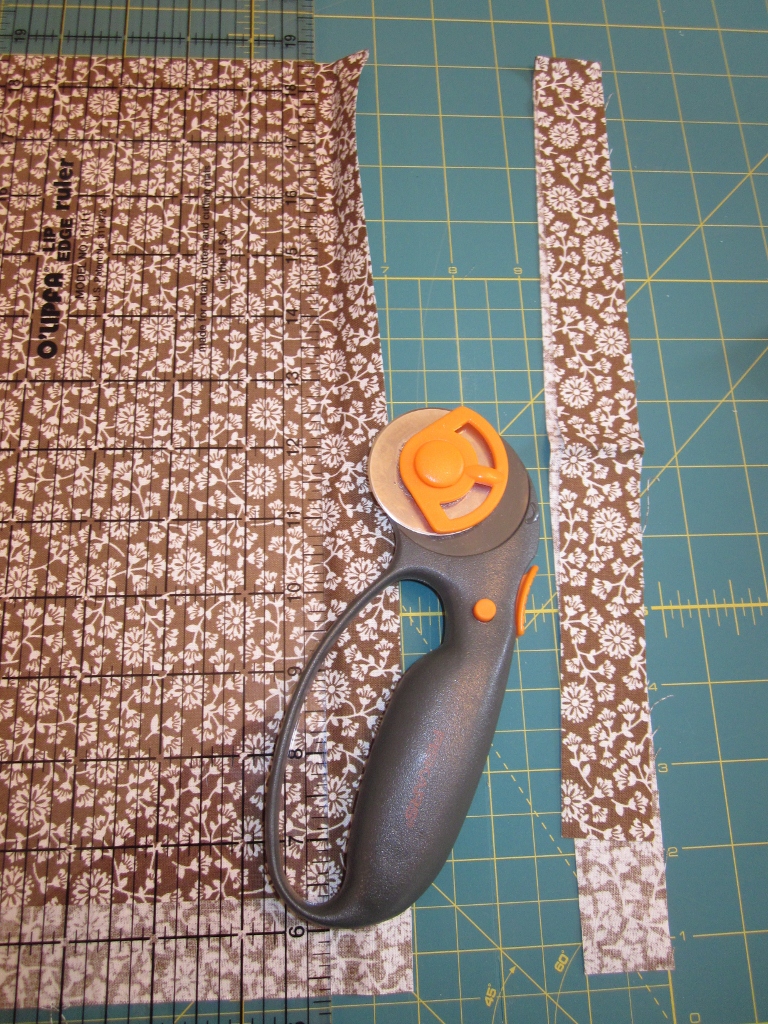
The size of your pumpkins will dictate on what width your strips of fabric are going to be. I did 1 inch wide strips. I just kept the fabric folded in half like it came and just measured and cut every inch. I did about four long strips for each pumpkin.

Then I cut the strips into about six inch long pieces, you really need to measure each pumpkin individually. The pieces need to go from top to bottom. I found that if I cut the fabric into points, the top and bottom looked better with less overlapping.

Coat your pumpkin with mod podge in the area that you are working in, and make sure that you lay the strips of fabric on the mod podge being careful to overlap the seams slightly.

Between each layer, make sure you put more mod podge on the edge so that your next piece will stick to the fabric that is already there. Working with mod podge is very messy, make sure you protect your work space. I think gloves would of worked best, because my hands were a mess afterwards.

When finished all of the fabric, let dry a bit, then cover the whole fabric pumpkin with a coat of mod podge, I sniped off any loose threads first though.


Paint your stems with an off white acrylic paint, then go over that with a brown paint, so that your stems will match your fabric.

I made some embellishments for each pumpkin using the Spice Cake fabric and some crumb cake seam binding ribbon. Hot glue your embellishments on, then hot glue your stems back in place and you are done! Here is a look at each pumpkin.


I have them on a plate now, but will probably place them in a grouping on my mantle after Halloween is over. I love how they turned out, and they are relatively easy, just a bit messy to make. You can get all of your supplies HERE 24/7. Try them out, they are fun to do. I hope you were inspired today, enjoy!

Items used:
Spice Cake Fabric 124066
Crumb Cake seam binding ribbon 122332

Comments