Naughty or Nice?

Welcome Stampin Pretty readers, I am glad you could join me today, it is always so cool to be one of Mary Fish's guest stampers. Please join me and my Pretty Provisions readers for two very fun projects to share with you using the Letters to Santa DSP. I have a pictorial prepared for the top note box for you at the end of the post.


This is a big 4 x 9 card which is perfect for the large images from the DSP
packs that you would normally use for scrapbooking. I simply trimmed Santa
down, added some dazzling details to his beard and cuffs and matted him on some
different bits of punches and embossed card stock. The sentiment also came from
the same piece of DSP, just trimmed down to fit. The great thing about this
size card is that it can fit in a standard size #10 envelope. You will need
just about a whole sheet of card stock to make the base of the card, but it packs
a great punch!
I came up with this little top note die box many years ago, before I was blogging, for Mackie's friends for Valentines Day. I have always loved how it turned out, so I thought it would be great for some Christmas treats.


Here is how you make the little box. Cut two top note pieces, one card stock and one DSP, trim the DSP at the preforations and glue to the card stock base, cut in half at the points. I put some dazzling diamonds glitter glue on the top of each ornament.

Next, cut a piece of card stock for the box at 4 1/2 x 5 3/4, score the short side at 1 1/2 and 3, turn to the long side and score at 1/ 1/2 and 4 1/4

Cut the two middle lines on the short side to the middle score line, fold all score lines.

Assemble you sides with tombo or other strong hold glue.


Attach your ribbon handle to the box with sticky strip. If you put your handle on the outside of the box, when attached to the top note die you will not see the ends of the ribbon.

Put tombo or sticky strip on you box and attach a piece of the top note die to each side making sure to line up the top note in the center from side to side, but align the bottom to the bottom of the box.

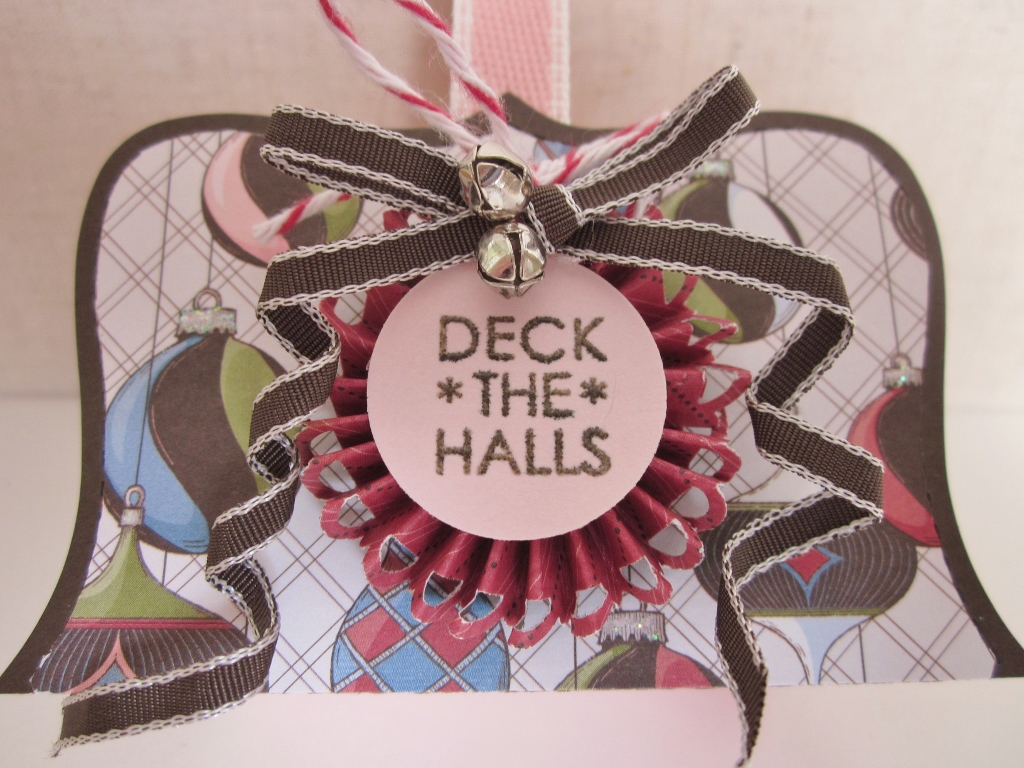
Now, decorate however you wish, I made a rosette using the red DSP that was punched with the scallop edge border punch.

Thanks so much for stopping by today, If you have any questions, please email me. Don't forget to stop back on Monday to find out all of the wonderful details for the Online Extravaganza. I myself cannot wait to see what the special are going to be! Hope you were inspired, enjoy!
Card details:
Stamps: Snow Swirled
Ink: Versamark
Paper: Letters to Santa DSP, Early Espresso, Riding Hood Red, Old Olive,
& Pink Pirouette CSTools: Big Shot, stripes embossing folder, oval designer frames embossing folder, top note die, scallop oval punch, dazzling details glitter glue, mini jingle bells, basic rhinestones, itty bitty circle punch, small oval punch, square lattice embossing folder, crystal effects, corner rounder.
Top Note box details:
Stamps: Seasons of Joy
Ink: early espresso
Paper: Letters to Santa DSP, early espresso, and pink pirouette CS
Tools: big shot, top note die, scalloped border punch, circle punch, early espresso ribbon, bakers twine, mini jingle bells, clear embossing powder, heat tool, dazzling details glitter glue

Comments
:-D
kejujah@yahoo.com